Steps in the Residential Roof Replacement Process
Roof replacement is a significant home improvement project, and for many homeowners, it can be a daunting prospect. But fear not, because understanding the roofing process can make it a much smoother and less intimidating experience. In this blog post, we will demystify the roofing process, step by step, so you know exactly what to expect when it’s time to replace your roof.
Step 1: Inspection and Assessment
The process begins with a thorough roof inspection. A professional roofing contractor will examine your existing roof to assess its condition, identify any damage, and determine the extent of the work required. They’ll provide you with a detailed estimate and recommend the best roofing materials for your specific needs.
Step 2: Material Selection
Once you’ve decided to move forward with the roof replacement, it’s time to select the roofing materials. You’ll have a variety of options to choose from, including asphalt shingles, metal and more. Consider factors like durability, style, and budget when making your decision.
Step 3: Permits and Paperwork
Before work can commence, you may need to obtain the necessary permits from your local building department. Your roofing contractor will typically assist with this process, ensuring that all legal requirements are met.
Step 4: Roof Removal
The next step involves removing the old roofing material. This is a labor-intensive process where the existing shingles or roofing material are carefully stripped away, exposing the underlying roof structure.
Step 5: Repairs and Preparation
During the removal process, any damaged or deteriorated roof decking will be identified and replaced. It’s essential to have a solid, stable foundation for the new roof.
Step 6: Installation
With the roof deck in good condition, the installation of the new roofing material begins. Each type of roofing material has its own installation process, but generally, it involves laying down a waterproof underlayment, followed by the application of the chosen roofing material in an overlapping pattern.
Step 7: Ventilation and Insulation
Proper ventilation and insulation are crucial for the longevity and energy efficiency of your new roof. Ventilation helps regulate temperature and moisture levels in the attic, while insulation helps maintain a comfortable indoor environment and reduces energy costs.
Step 8: Flashing and Sealing
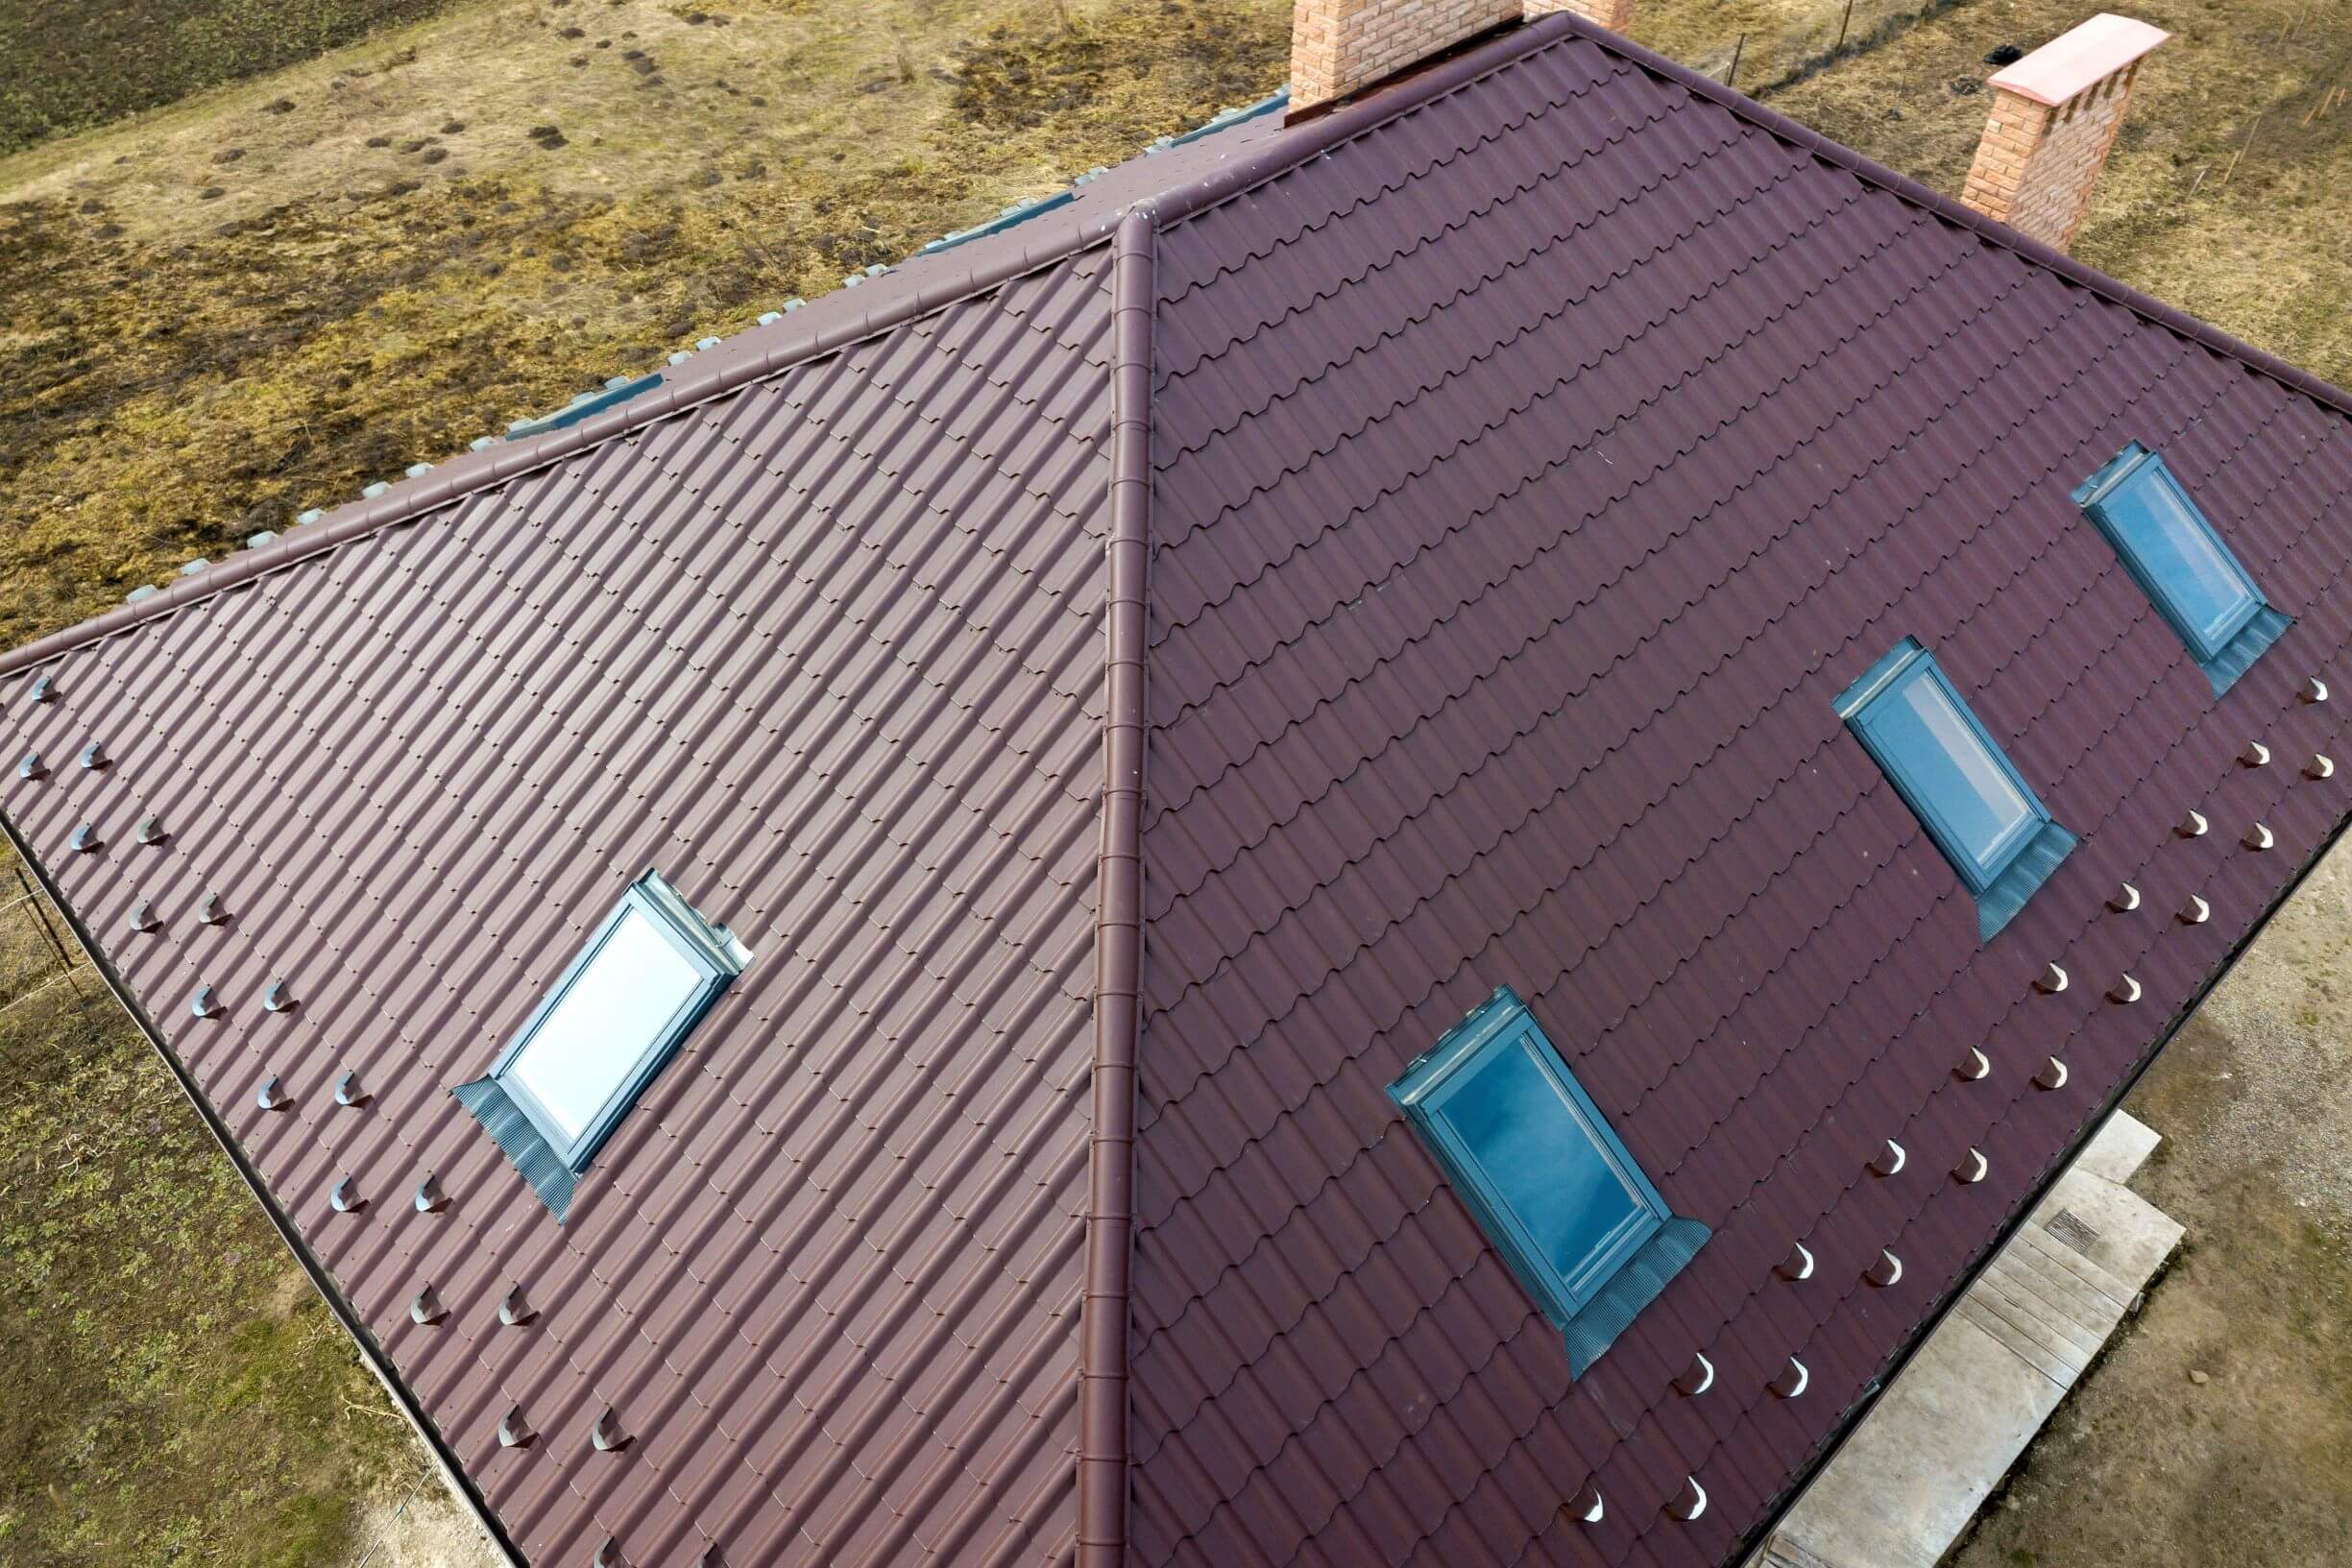
Flashing, which is typically made of metal, is installed around roof penetrations such as chimneys, vents, and skylights to prevent leaks. Proper sealing and caulking ensure that all potential entry points for water are watertight.
Step 9: Clean-Up
A professional roofing team takes pride in leaving your property as clean as they found it. They will perform a thorough clean-up, removing debris, nails, and any other materials from your yard and landscaping.
Step 10: Final Inspection and Warranty
Before considering the job complete, your roofing contractor will conduct a final inspection to ensure everything is up to industry standards and your satisfaction. Most reputable roofing companies also provide warranties for their work, giving you peace of mind in case any issues arise in the future.
By understanding these ten key steps in the roofing process, you can approach a roof replacement project with confidence and clarity. When working with a reputable roofing contractor, you’ll be guided through each stage, ensuring a smooth and successful roof replacement that enhances your home’s protection, energy efficiency, and curb appeal.


